How to Securely Wipe a Hard Disk Drive
Don't give it away!
|
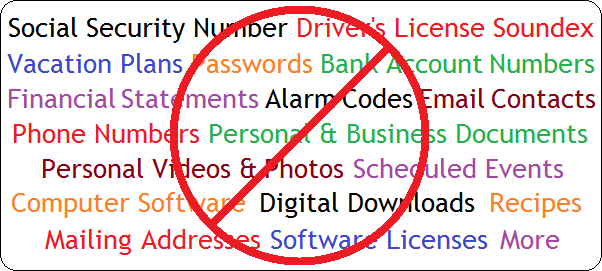
To securely eliminate all sensitive data, you'll need to wipe (overwrite) the hard drive. Simply deleting files, a partition or reformatting the drive, does not insure that someone cannot restore your files using advanced file recovery software. The information remains, although the file system has been removed. Before donating, giving away or tossing out that old computer, wiping the hard drive is a must to remove sensitive information. Failing to do so can expose things such as financial statements, bank account numbers, passwords, alarm codes, email contacts, mailing addresses, phone numbers, personal & business documents, videos & photographs to anyone and everyone! Leaks of this type of information easily lead to identity theft or worse! Many famous and influential people have had their reputations damaged by the release of embarrassing information they never thought would see the light of day. Not only that, you will also give away costly image & sound files, as well as other software you paid for! Reoccurring family or business trips stored in digital Calendars, text files or Word documents can give thieves clues as to when and how often you may be out of town. Loss of this type of information can be devastating when a computer is lost or stolen. Don't make the mistake of simply putting it all out there!
NOTE: The following steps apply to the Windows O/S and are intended for general use purposes. Read and follow the documentation that comes with your specific Secure Overwrite software. Things You'll Need: * Desktop or Laptop computer * IOLO DriveScrubber (Windows XP SP3 - Windows 8) * Eraser (Windows XP SP3 - Windows 8) * DBAN (Windows, Mac and Linux) * Wipe (Linux) 1. Start your computer. During the boot up process, activate the (Windows) Setup Utility by holding the F2 key during the initial boot screens. Toggle the Boot Menu by tapping the right-arrow key until Boot is the highlighted tab. Hit the Enter key to open the Boot Priority Menu. Can't access the boot menu? Remove the drive and attach it as a slave to another PC. 2. Set the Boot Priority, using the up & down arrow keys to select the drive containing your Overwrite program media. This could be any recognized internal or external hard disc or CD drive OTHER than the Master hard disc drive containing your operating system and Master Boot Record. 3. Hit the F10 key to save and exit, once you have made your selection. Then, confirm to save the changes. Your computer should continue the boot process, stopping with the options as set forth in your overwrite software. This DOS screen will likely be blue or black with white text. 4. Select the operation you wish to run in your utility, choosing from a partial or complete overwrite. You will also have to select the number of passes; more passes = more secure. Gutman's DOD dictates 7 passes. Depending on the size of your hard drive, this could take several hours to complete. 5. Format the freshly wiped hard drive NTFS; in preparation for the re-installation of a current Operating System, or use as a slave drive, a stand-alone download directory, or use in a dual boot system. If you intend to donate the machine, leave formatting to the next owner. Tips: * Planning to install Windows 7, 8 or 10? Format the drive NTSF, the standard format for Windows. * If securely wiping the drive seems too difficult or time consuming, remove and physically destroy it with high heat! Warnings: * Do not simply format the drive. * Once you start, there's no going back! Copyright 08/02/2013 All Rights Reserved. Questions? Comments? Contact Me Related Articles: Computer/Internet |
|